A custom roll up banner is a powerful, portable ambassador for your brand at events and storefronts, grabbing attention in crowded lobbies, trade show aisles, and during busy product launches. For best results, understand roll up banner printing options that balance vibrant color, crisp typography, durable hardware, and pricing, so your message reads clearly from a distance and your budget stays in check. When you plan the project, consider design, resolution, file formats, bleed, and proofs to ensure a smooth journey from concept to on-site display with fewer surprises and quicker approvals, including good naming practices and color profile checks. This also means ensuring the artwork is print-ready and aligned with your brand guidelines for a consistent look across channels, from social posts to print collateral. Budget roll up banner options should influence material choices, print surface, and hardware, helping you align branding with cost controls while maintaining impact.
Beyond the term custom roll up banner, you’ll often see references to pull-up banners or retractable banners describing the same portable display. These signs are compact, lightweight signage solutions that store neatly in a carry case and deploy in seconds, making them ideal for busy events and pop-up shops. When selecting a display, consider the venue, lighting, and branding needs, using consistent colors, fonts, and imagery to create a cohesive signage system that travels with you.
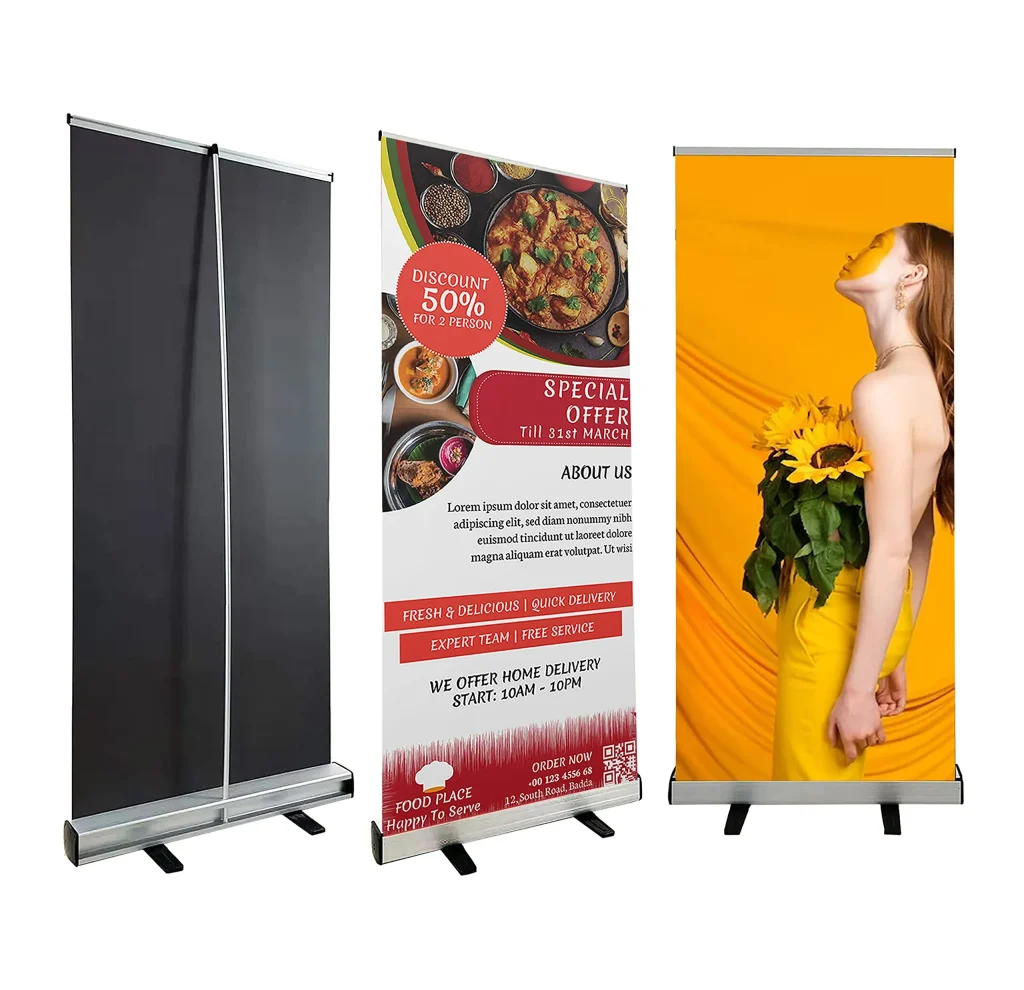
Custom Roll Up Banner: Elevating Brand Visibility at Events
A custom roll up banner serves as a portable ambassador for your brand, delivering a clear message even in crowded venues. By prioritizing high-contrast typography, a single strong image, and brand colors, you can maximize impact with a compact footprint. When planning, think about the event context, audience flow, and how the banner will pair with other display elements to reinforce your story.
Material choices and hardware influence durability and perception. Vinyl prints offer sharp color and long-lasting performance, while fabric can reduce glare and wrinkles in bright lighting. A reinforced base and weather-resistant features help with outdoor use, and a compact travel case keeps setup quick between sessions. When you think of roll up banner printing, ask about materials, finishes, and warranty to choose the right balance of cost and quality.
Roll Up Banner Printing: From File to Final Banner
Preparing print-ready files is the first step in roll up banner printing. Use print formats like PDF, AI, EPS, or high-resolution TIFF/JPEG, and embed fonts or outline them to avoid substitutions. Ensure 300 DPI at final size and include a bleed of about 0.125 inches to prevent white edges after trimming.
Color management and proofs help you forecast how the finished banner will look. Work in CMYK unless your printer provides RGB proofs, and request digital proofs first followed by a physical proof when time allows. This minimizes color drift and ensures alignment with your layout, reducing the need for costly reprints.
How to Order a Roll Up Banner: A Simple, Clear Process
Start with a clear brief: define the goal, size, and budget, then gather branding assets such as your logo, color codes, and fonts. Request quotes from multiple providers and compare lead times, terms, and any setup fees. You’ll also want to decide on hardware options and delivery terms early to avoid surprises.
Once you approve proofs, confirm production timelines and arrange delivery windows. Consider whether you need rush options, express shipping, or white-glove delivery for larger banner sets. By keeping communication tight with the printer, you can avoid delays and ensure a smooth handoff from file to installation.
Custom Roll Up Banner Design: Creating Bold and Readable Graphics
Designing a custom roll up banner requires a clear focal point, readable typography, and brand-consistent color usage. Use a strong headline, supporting imagery, and a concise call to action that reads well from several feet away. Ensure your brand colors and fonts are embedded or converted to outlines to prevent font substitutions during printing.
Consider the print surface—vinyl for crisp color and durability, or fabric for a softer, wrinkle-resistant look under bright lighting. Plan the layout with safe margins, appropriate bleed, and vector artwork for logos and icons. Testing compositions at scale in a proof reduces the risk of legibility issues in real-world settings.
Budget Roll Up Banner Options: Balancing Cost and Quality
Budget roll up banner options vary by width, material, and stand quality. If cost is a concern, compare vinyl versus fabric surfaces and check warranty terms on hardware. You can achieve a strong impact with a single, high-contrast banner rather than multiple lower-quality panels.
Look for value-added features that save time and reduce risk, such as lighter carry bags, easy setup mechanisms, or bundled printing with a protective travel case. Assess total cost from printing, hardware, shipping, and potential reprints to understand the true value of your investment.
Roll Up Banner Delivery: Timely Shipping, Setup, and Care
Roll up banner delivery should be planned with lead times in mind. Most providers offer doorstep delivery, freight, or curbside drop-off, and you may opt for white-glove service for fragile or multi-banner setups. Confirm delivery windows that align with your event schedule to prevent last-minute disruptions.
On arrival, practice setup to minimize on-site delays and inspect the print for color fidelity and trim accuracy. Store the banner in its protective bag when not in use, avoid prolonged exposure to direct sunlight, and clean gently with a soft cloth. Proper care extends the life of your banner for future events.
Frequently Asked Questions
What is a custom roll up banner and when should I use one?
A custom roll up banner is a portable, retractable graphic display printed with your branding. It’s ideal for events, trade shows, storefronts, and promos because it’s lightweight, quick to set up, and highly visible. Use a custom roll up banner when you want consistent branding across venues and have a message that benefits from strong, single-image impact.
How to order a custom roll up banner: what are the essential steps from design to delivery?
Start with a clear goal, size, and budget. Gather branding assets (logo, color codes, fonts), choose print material (vinyl or fabric) and hardware, request quotes, and review proofs. Approve digital proofs (and physical proofs if available), place the order, and arrange delivery. This aligns with best practices for how to order a roll up banner.
What are the key considerations for custom roll up banner design?
Keep the design simple and high-contrast: a bold headline, a strong focal image, and a concise message. Use brand colors and legible fonts, ensure artwork is 300 DPI, and include a 0.125–0.25 inch bleed. Place critical elements away from the edges (safe margins) and embed fonts or convert text to outlines to avoid substitutions.
What are budget roll up banner options and how do I choose the best value?
Budget options vary by width (commonly 33–36 inches), material (vinyl vs fabric), and hardware quality. To maximize value, compare print surfaces, warranty terms, and included accessories such as a carry bag or durable base. Consider a single high-impact banner with strong visuals rather than multiple lower-cost banners for better ROI.
What should I know about roll up banner printing and file specs for a custom roll up banner?
Prepare print-ready files in commonly accepted formats (PDF, AI, EPS, TIFF/JPEG). Use CMYK colors, ensure 300 DPI at final size, and include a 0.125 inch bleed with safe margins. Provide embedded fonts or outlines and request proofs to verify color accuracy and layout before production.
How is roll up banner delivery arranged and what should I expect during delivery and setup for a custom roll up banner?
Delivery options typically include doorstep or freight shipping. Expect packaging that protects the banner during transit. Lead times vary (often 3–7 business days plus transit). Upon arrival, unpack, assemble the stand, and test stability. For outdoor use, verify weather-rated materials and stabilizers, and store the banner in its bag when not in use. This covers roll up banner delivery and setup considerations.
| Topic | Core Point | Tips / Notes |
|---|---|---|
| Define goal, budget, timeline | Set purpose, budget, and lead time to guide design and production decisions. | Define event type, impression, and deadline; plan proofs, printing, and delivery accordingly. |
| Size, material, base | Choose width (33–36 inches), height (78–85 inches), print surface (vinyl vs fabric), and sturdy base. | Consider readability from distance; select durable hardware for frequent setup/breakdown. |
| Design & branding | Clear focal point, high-contrast colors, brand colors/fonts, and proper bleed. | Use 300 DPI; include 0.125–0.25 in bleed; keep important text 0.5 in from edge. |
| Print-ready files & proofs | Prepare print-ready formats; manage color; ensure fonts embedded/outlines. | Provide CMYK proofs; request digital proof then physical proofs if possible. |
| Order process & lead times | Obtain itemized quotes; understand proofs, production, and delivery timelines. | Typical 3–7 business days plus shipping; consider rush options. |
| Delivery, setup & care | Delivery options, quick setup, outdoor suitability, and long-term care. | Protective bag; reusable storage; avoid sun/moisture; test setup on-site. |
| Budget-friendly options | Balance cost with material choice, warranty, and a single strong banner when appropriate. | Compare vinyl vs fabric; check hardware warranty; look for value-added features. |
| Pit’s & best practices | Avoid overcrowding, bleed/margins issues, and lack of proofing. | Plan for sturdy travel; request proofs; maintain trim-safe margins. |
| How to order (checklist) | Step-by-step process from goals to delivery inspection. | Gather assets, request quotes, review proofs, confirm delivery, inspect on arrival. |
Summary
custom roll up banner projects can elevate your event presence by combining portability, clarity, and durable design. A well-planned approach—defining goals, selecting the right size and materials, preparing print-ready artwork, and coordinating a smooth delivery—helps ensure a banner that travels well, installs quickly, and makes a lasting impression. By focusing on simplicity in design, readability, and reliable hardware, you’ll master the art of creating and ordering a roll up banner that stands up to busy events and frequent use. Whether you’re comparing budget roll up banner options or diving into roll up banner printing specifics, this guide emphasizes clear messaging and professional presentation to drive better outcomes at your next event or promotion.